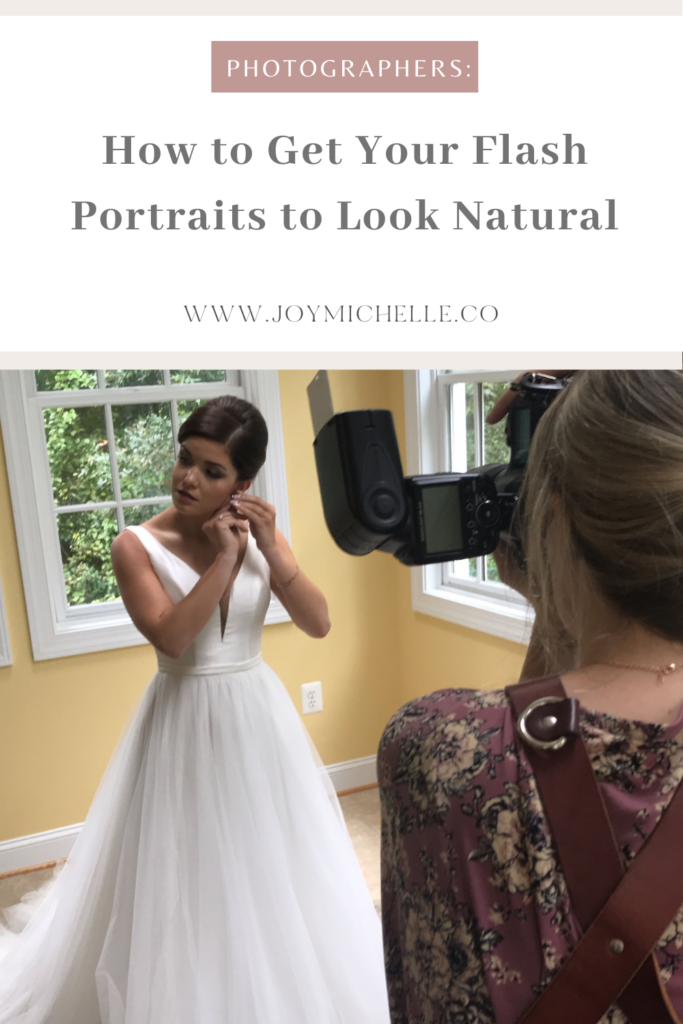
Have you ever struggled when taking flash photos inside with low lighting? Maybe you’re trying to get a more natural, light and airy look, and you simply don’t know how to produce that look. In today’s video, I am going to show you my exact step by step process on how to achieve a more natural look in a low light setting using flash photography. Every photographer wishes for the best lighting. However, some situations just are not ideal. Let’s dive in!
How to Make Your Flash Photos & Portraits to Look More Natural
Step One: Evaluate The Scene
First, you need to consider what you were actually given to work with. Anyone can take a great photograph when every element of the scene aligns. But it’s where the rubber meets the road as a photographer when you’re in a not ideal scenario but you have to still get the photo. Evaluate the room and figure out where you are going to put your models after taking a look around at the scene.
Step Two: Flash Settings
Next, I set up my flashes. I had my camera flash just to my left hand side and decided to shoot through umbrella. When a light source is coming through something as small as your flash, it tends to give off more of a harsher look. By using an umbrella though, this allows for the light source to disperse and make the light a lot bigger thus softer on your subjects faces. Additionally, I also had an on camera flash that was aimed up and to the side so the flash or artificial light could bounce off the ceiling and the walls. This allows the lighting source to come from a bigger and more dispersed angles.
Step Three: Camera Settings
Finally, I was shooting was a Nikon D4 with a 24/70mm lens with a zoom of 50mm. My ISO was set to 640 and my shutter speed was set to 1/125th so I was able to pull ambient light from the room. My f-stop was 2.8 which was the widest this lens would go, and this allows for my subjects to be sharp and the background soft. Each of my flashes were set at 116 power and the trick here is you want to be completely on manual so you can take test shots and see if you need a little more light or a little less.
Lastly, I edited my photos in Lightroom! I’ve included resources below on how to edit in Lightroom and export high resolution photos. Leave a comment below and let me know how this video helped with your “not so ideal” shooting scenarios!
