

 Some of the top questions I receive as a wedding photography educator are regarding a wedding flat lay photos. These heavily styled, beautiful images have become “money shots” not only for wedding days but for social media content as well. You would be hard-pressed to find a top wedding photographer, planner, or industry blog’s Instagram feed that did not contain a pretty styled image or two.
Styled flat lays are the perfect type of image to show off the wedding invitations and paper goods, wedding rings, ring boxes, jewelry, and even wedding shoes! They can also be used to promote a strong wedding photography brand. With a few added accessories and a lot of technique, these are show-stopping images in a wedding gallery and really show off a client’s most treasured wedding heirlooms.
Learning how to style a wedding flat lay is easier to master than it may appear. It does take some practice, and bringing along a kit of styling tools to the wedding venue is crucial. But with a few simple steps, you can learn to photograph the perfect styled flat lay!
For a more in-depth look, you can view my video here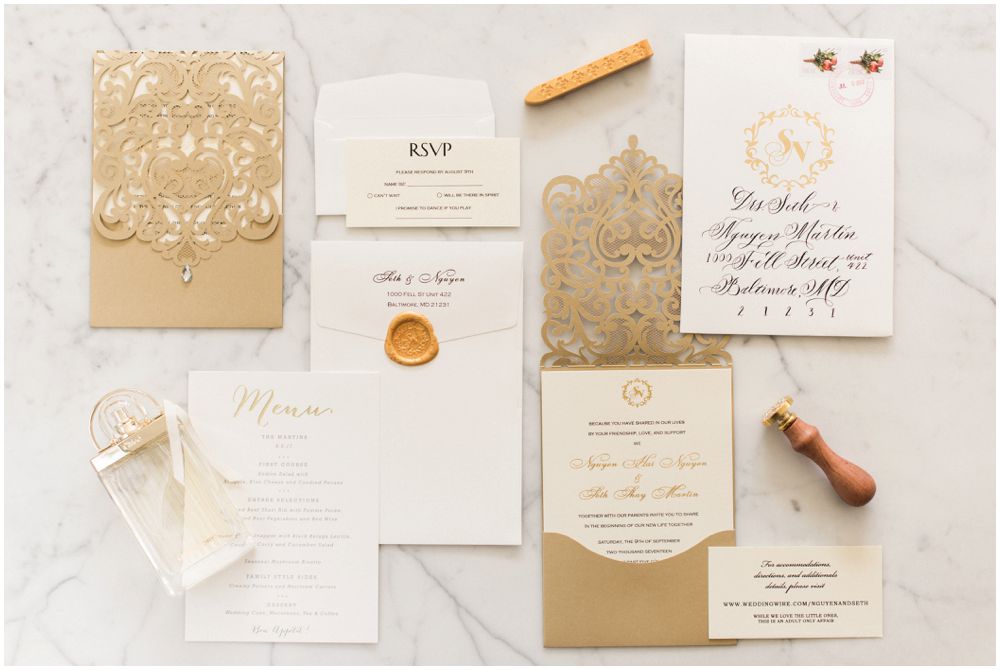
Five steps to styling and photographing a flat lay:
- Choose a background:
This is the logical first step in the process and really sets the tone for your image. The background should be clean and carefully selected to compliment all the details that you are styling. I recommend using a styling board, styling mat, or a clean, flat surface as the background. You can make your own styling board (see this video) or purchase them from a variety of retailers. - Gather items you’re going to be styling:
Compiling all of the items you’d like to photograph is important to ensure that they will all look good together in a photo. This will also help you choose last-minute complimentary accessories, like postage stamps, ribbons, and floral blooms. And it will also help your mind start composing the shot as you get set up!
- Choose your composition:
Next you must decide one of the most basic components of the shot—whether you’d like to shoot vertically, horizontally, or as a square photograph. This will help guide you in the following steps and will save time because you will do it right the first time. - Begin adding items:
This is the fun part! Adding your items allows you to bring the creativity and showcase every element appropriately. Start with your largest items first, then add the smaller items. It’s important to layer them to create dimension and focal points. I also like to fill awkward gaps with small accessories and items such as vintage stamps. And you’ll find that nice silk ribbons can be a game changer! They add a romantic feel and can be adjusted to fit nearly any shape, which is helpful in trickier spots to fill. Don’t be afraid to keep tweaking your design until you’re happy with how it looks! You can see a hands-on example of how I style items in my video below. - Take a test shot:
There’s nothing worse than editing a styled flat lay image and realizing that your borders aren’t straight or the ribbon you used was flipped up in a distracting way. This is why it’s so important to take a test shot with your camera or cell phone and examine it. Make sure that you’re happy with how it looks before you move on!
I hope these 5 steps for how to style a flat lay will help you the next time you feel stuck!
Happy styling!
P.S. Join the Photoboss Facebook group to get more tips from other photographers! Click HERE to join.
")
