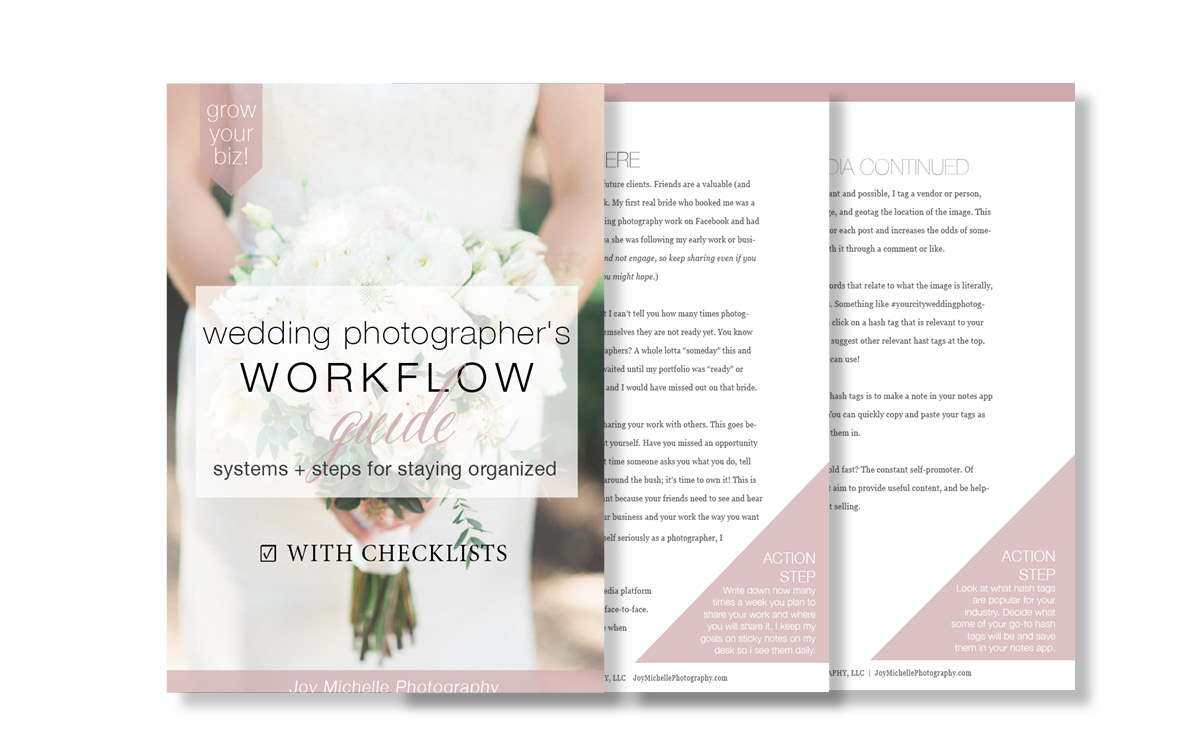
This blog post has been a long-time coming and is going to be information PACKED so be sure to grab a fresh cup of coffee and a note pad because you’re in for a treat! Over the past few weeks, I’ve been creating video content surrounding the topic of Wedding Photography workflows. I compiled the whole journey into 5 videos and 1 PDF guide to make following along easier. I named it the Wedding Photographer’s Workflow Guide and you can get your hands on it HERE.
Have you ever felt like a circus performer in your business? Like you’re running around doing 14 different things at once? Maybe you forget certain tasks and things are falling through the cracks and you’re wondering HOW other photographers are making it all work?! I was there too. I used to look around at what everyone else was doing and wonder where other people even found the time to blog, and edit, and post to social media, and…the list goes on.
What I discovered after a few years in business is that most photographers are not utilizing systems and steps in their businesses to create a unique and consistent experience for each of their clients. They work from a place of reaction instead of being proactive. The Wedding Photographer’s Workflow Guide is aimed to show you some of most important the steps I use in my business (workflows) and to help you think about (and create) your own as well.
PART 1 | BOOKING BRIDES & TOUCH POINTS | WATCH PART 1 VIDEO HERE
To start at the beginning of my workflow, I really have to consider where my potential brides are finding me and getting to know me before they even fill out my contact form on my website. Maybe they found a Pinterest image, and that image led them to my blog. Or they might have seen a friend’s wedding I photographed, and ended up on my Instagram. Each touchpoint of the process is important to consider because this is what makes up my client experience. Although I cannot control exactly how a client might find me, I can control what they see when they get there. I can and be sure to have up-to-date images and information for them. Odds are, my social media accounts are one of the first things brides and grooms will look at upon discovering me.
When I get an email from the bride, that’s my second touch point and one where we get to communicate directly. My priority in this phase is to be as prompt as possible. I realize that when a bride reaches out, she’s in that wedding planning state-of-mind and is likely to be on her email and available to schedule a consultation. Whether by phone/skype or in-person, the consultation is the next step followed by a brochure of collections. I’m able to accomplish this easily through Honeybook which is a client management software I use for contracts, proposals, and questionnaires.
Using client management software has freed up my time by allowing me to save every step as a template so I’m not writing the same emails over and over.
Once a bride is officially booked, they are welcomed into the Joy Michelle Bride family with a welcome gift and access to exclusive planning resources. From there, I prompt my couple with the next steps. If they have an engagement session in their collection we start with this. If not, I let them know what’s next. For more tips on client gifting and the initial booking process grab your copy of the guide here.
PART 2 | PREPARING FOR THE WEDDING | WATCH PART 2 VIDEO HERE
I don’t have to tell you that wedding days can be hectic. There are so many moving parts and people to balance. But what if I told you they don’t always have to be so hectic? I have 3 things you can do before your next wedding to ensure things go smoothly! It’s all in the preparation, and the education.
Send a pre-wedding Questionnaire. The questionnaire is your best chance of knowing possible problem areas on the wedding day before they happen (and possibly preventing them). It’s your chance to see the timeline, family formal line up, and vendor list. I send one out to my brides at least 6 weeks in advance so that we have time to make changes if needed. This is where I’m able to tweak the timeline to work best for photos. This is also where I can gently remind my couples to have flowers there when I arrive for details. (These are the small, yet significant elements that GREATLY impact your images.) The questionnaire allows me to prep my couples for what I need on the day-of so that I’m able to do my best work!
Request a copy of the invitation. I also request that my clients send me a copy of their invitation before the wedding day. This serves a couple of purposes: I get to see their colors and style up close, I can confirm times and addresses (so that I have the same information the guests have), and I bring it to the wedding for detail photos. Even when I remind them, it’s very possible they will forget the paper goods in the flurry of getting everything else ready. When I show up on the day of the wedding I can get right to work.
Prep your gear + yourself before the wedding. The day or two before a wedding, I get all my gear ready and also gather the wedding invitation suite into a folder. I charge my camera and flash batteries, clear memory cards, and much more.
You can refer to the Workflow guide download for the complete checklist of gear and personal items I prepare for each wedding day.
PART 3 | BACKING UP YOUR IMAGES + SHARING WITH VENDORS | WATCH PART 3 VIDEO HERE
It’s the end of the wedding day, and you have all those precious files ready to be processed. So what can we do to ensure that they are properly stored and backed up in case of any possible situation? That’s what this module is about. I’m constantly vigilant in this area because of all the awful stories I have read about photographers losing their images.
Here’s what I do: I start by photographing a wedding day (or any event) on two memory cards at the same time.
When I get home, I back up the images onto an external hard drive.
Then, I back up those images to dropbox. This is super important because this is a cloud-based storage method. This means that if my home were to burn down, or all of my stuff was stolen, I wouldn’t be in a bind because I have the cloud back up. (This helps me sleep at night!)
If you’ve been keeping count – that’s 4 backups.
I do not delete ANY of these 4 backups until the high-resolution images have been delivered to the client via gallery.
I use pixieset for my final delivery of wedding client galleries.
Next, I want to share with you what I like to call the 24-hour window of relevancy. Here’s the deal – people care most about images from an event within the following 24 hours following an event. This is the best time to share the images for potential re-sharing and engagement. Both guests and vendors are more likely to share an image during this time period.
After I have edited the images and I’m at the stage where I’m exporting from Lightroom, I also export a smaller gallery for the vendors that were involved. I don’t watermark or limit the size of the image beyond making it a good size for displaying on computer screens. I simply ask that they credit my image with a tag and they almost always do! This is wonderful marketing and just good networking. I’m so thankful to have some amazing vendor relationships that have referred me countless weddings and I credit practices like THIS in part for those relationships.
One bonus perk to creating that vendor gallery of images is that I have essentially done the work already of creating a smaller submission gallery for publications and blogs.
PART 4 | DESIGNING WEDDING ALBUMS | WATCH PART 4 VIDEO HERE
Let’s chat about the wedding albums! I’m a total believer in the printed product. I love that it’s a completely different experience when you hold and touch a printed image verses seeing it on a screen. Albums are a chance for my couples’s children and their children’s children to see and love their photos too.
So what’s the design process look like? When I have delivered a couple’s final digital gallery, I also let them know that we are going to start their album design. They do this by selecting 15-20 of their favorite images so I can get a feel for what they want to see in the design. This gives me lots of creative freedom to tell their story. From there, I send them a draft of their design in a software called FUNDY. I allow my couples to edit and make changes 2 times before the album goes to print.
PART 5 | GETTING PUBLISHED + SOCIAL MEDIA FOR PHOTOGRAPHERS | WATCH PART 5 VIDEO HERE
This is one of my favorite steps of the whole process. Remember when I shared the 24 hour window of relevancy and that small gallery of images I create for vendors? Those are the images I want to talk about here. That gallery becomes your submission gallery for features. This is the same gallery I send to blogs/magazines in hopes of being published. Depending on the publication I intend to submit to, I sometimes blog the images on my website and sometimes don’t because of exclusivity. If I do blog, I use a software called Blogstomp to combine images, rename and resize in 1 click. Literally 1 click. It’s insane!
If you do blog the wedding, be sure to credit and link all the relevant vendors. After you hit “publish” be sure to tell all those vendors that they’re featured on your blog! They’ll be so excited and share. Free marketing!
I then share images from the wedding across all my social media platforms like Instagram.
If I’m hoping to get the wedding published, I start on a site like Two Bright Lights to see where it might fit with the theme and my style. After a while, you start to see patterns in what publications are a good fit for your photography style.
When this series originally aired on Youtube, I did a LIVE wrap-up questions and answers video for my subscribers and you can watch that HERE.
Additionally, If you’d like some tips for successful client consultations – click HERE.
What are your workflows like? Did any of my workflows overlap with yours? I’d love to hear about it. Leave me a comment!
Don’t forget a copy of your free guide by clicking the images below!

I have not been paid to promote or endorse any of these items. These are my honest opinions and thoughts. Some links within this post are Affiliate links, meaning that at no cost to you, I may receive a small commission if you buy it.