

In this video, I’m going to walk you through an engagement session on the beach, how I posed the couple, and some of my best tips and tricks. Make sure to check out Part One of the video too where you can learn more about the gear I was shooting with and how I directed the photoshoot. In part two, I want to take you along with me and provide more details behind the direction I provided for the shoot and the poses I chose for their session.
Real Engagement Session Walkthrough + Posing Tips
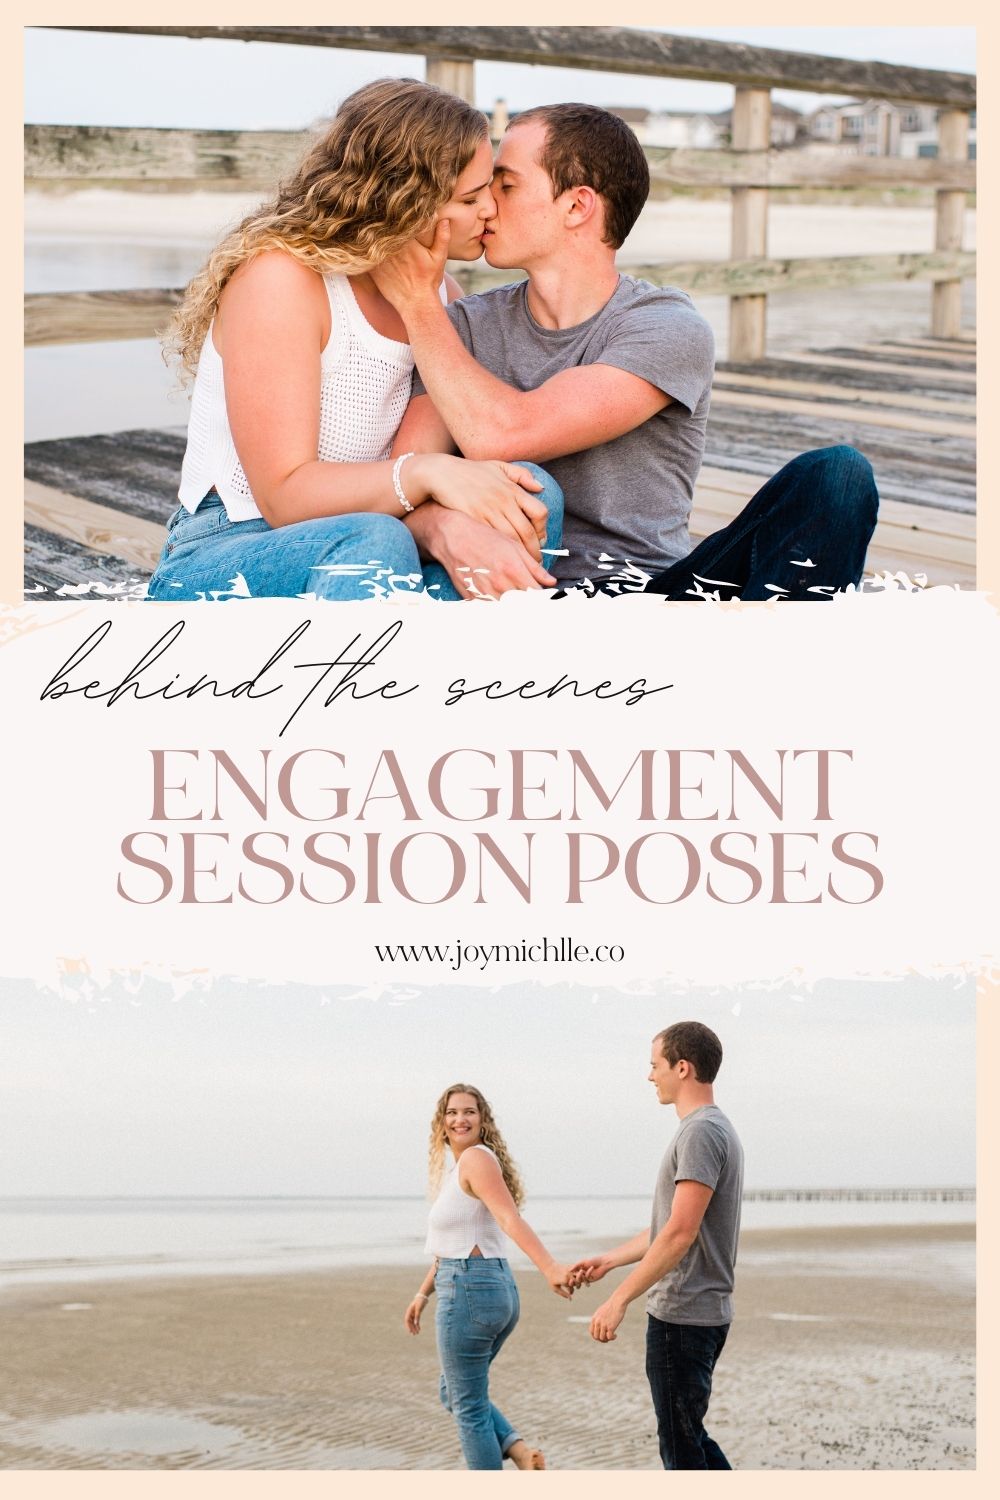
Pose #1
The first post I chose was on a piece of driftwood. We had been standing for most of the session and walking a lot so I wanted to switch things up a little bit. Sometimes I had them both looking at each other, sometimes I had them both looking at the water, and them look at each other. Alternating where people are looking helps to mix up the different styles of shots that you can capture.
Pose #2
Next, I went up on the dune to try and get a little bit of a perspective shift. I had them stand on the driftwood. I then directed them to put their arms around each other and kiss. Additionally, I thought it would be fun to treat the driftwood like a balance beam and have them hold hands and try to knock each other off of it. I thought this brought out more of their personality and connection and you could see the warmth of the sunset peeking into the pictures as well.
Pose #3
Immediately after that shot, we decided to go down towards the shallow water and played around with my film camera. It was a disposable camera that I’m going to send out for development. Then I switched over to my digital and grabbed a few more shots. I took advantage of some cute moments that were happening organically.
Pose #4
Next, we went up on the pier itself. I like to take photos of my couples from location to location. I believe you can get more interesting and dynamic shots as you continue to move throughout. I gave them simple walking prompts and a few ways they could change things up as they were walking: walk slow, walk into each other, etc. As they continue to walk they will normally get more loosened up too. Once we completed the walking photos, I sat them down and took a few shots on the pier while trying to get a natural and posed look. We settled into a cute pose after a few tries, we just needed to keep playing around with it.
Pose #5
Finally, I moved around and captured a few more sitting photos along with some where you don’t see both of their faces. This allowed me to continue to mix things up. I also wanted to capture a few intimate shots as well where they were almost nose to nose. This is one of the final shots from the session cause I knew they were warmed up and we already had a bunch of great photos from the session.
Bonus Pro Tip: always be cognizant of the hand placement so you can see the beautiful ring too in shots!
There you have it – behind the scenes of a real-life session with posing tips and all! I love getting to hear what you enjoyed about this video and what you’d love to see more of! Feel free to leave a comment below and let me know!
You May Also Like:
How To Use Honeybook For Your Photography Business
Take 50% Off Your First Year Of Honeybook
Join Photoboss Facebook Community
")
