

Do you find that you aren’t confident in shooting wedding detail photos? Maybe you haven’t focused in a really solid process for them yet. The detail photos are the very first thing I do before anything else! While the bride is having her hair & makeup done, I am shooting the couple’s wedding details! The details can include the dress, shoes, rings, stationery, etc. Capturing these elements beautifully not only sets the tone for the gallery but also builds trust and credibility as one of their chosen wedding photographers.
In the last few years, I’ve nailed down a process that I have found helps me capture detail photos quickly and efficiently. This process has helped save me so much time and I’m so excited to be sharing it and my best tips for shooting details with you in this post. We’ll be diving into how I take my detail photos, my signature process, and things I’ve learned along the way
How To Shoot Wedding Details!
1. Educate The Client
The wedding day details starts long before the wedding day! A few weeks before the wedding, take the time to have a conversation with your client about having those details on hand for the day of. You are going to tell them that you want to shoot all of those meaningful details within the time allotment therefore, please have all those details collected by mom or a bridesmaid and but in a box for you to grab and so you can begin shooting the detail shots!
This conversation is also a great opportunity to ask if there are any reception details they’d like documented later in the day — such as centerpieces, tablescapes, or custom signage — so you can plan accordingly.
2. Find Good Lighting & Beautiful Background
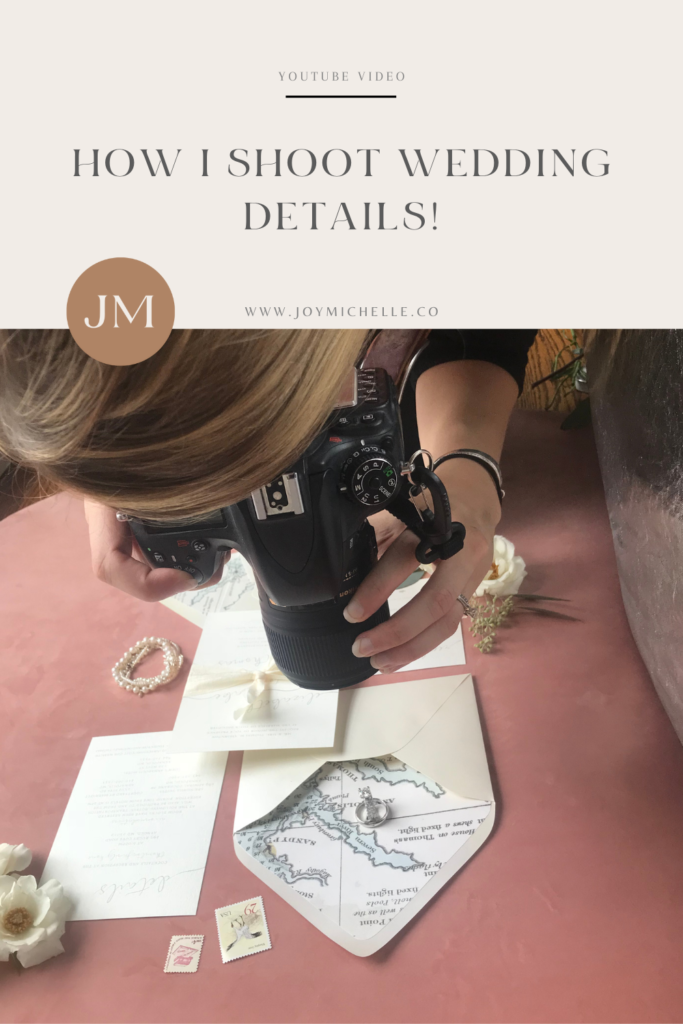
The first priority when shooting your detail shoots is to find good light as lighting is key! Typically, I will go looking for open shades or some window light so I can put my stationary on the ground, the light will come through the window and the reflector will bounce it back! Once you have found the light, begin looking for a background that will not be distracting and will be consistent with the wedding day itself. A trick that I have is that I bring styling boards just in case I am not able to find a background that will work. I have many colors of the styling boards, loose fabric, and I bring different varieties of neutral ribbon!
The Process:
- I work large to small. I start with all the stationary and add in any ribbons or stamps, etc.
- After that, I move back and check things off and move to smaller items. I play around with positioning and make sure lines are straight. Remember, less is more!
3. My Go To Styling Tools
Some of my go to styling tips to really make these detail shots stand out!
- A ting reflector! It comes with a gold side and a silver side and really adds that sparkle! You can see the one I love in my Amazon store HERE!
- Elmer’s stack and stick help with stacking and posing rings! You cannot even tell in the final photos and this is a MUST HAVE!
- Vintage stamps are a really nice accent to those detail shots! I have collected some through the years or have gotten some of them on Etsy! It just adds a little extra something!
- I bring a command hook to allow for me to take the dress shot basically anywhere I want!
As wedding photographers, it’s important to remember that the story doesn’t end with the dress and rings—capturing wedding reception elements like floral arrangements, cake details, or signature drinks adds depth and visual interest to the full gallery.
Wedding detail shots don’t have to feel overwhelming. Having a solid process in place and knowing how to find great light, will be HUGE for shooting details. Over time too, practice makes perfect! I’d love to hear in the comments below what one of your best takeaways was from this post!
If you decide to use any of the links above and buy through them, I’ll receive a small commission back. All of those affiliate income commissions really add up over time and help generate revenue to help support this channel
")
